Create a donjon tilemap in Godot
Table of Contents
The goal of this post is to guide you through my game dev journey to create a donjon map for a 2D top view pixel art game in Godot 4.
The scene tree will be really simple. The Godot node type is indicated between parenthesis for you in order to reproduce it:
- DonjonLevel (Node2D)
- Map (Node2D)
- DonjonTileMap (TileMap)
- Map (Node2D)
Next, click on the DonjonTileMap node and at the right Inpector panel you should see an empty property Tile Set. Select it and create a new tile set as illustrated below.
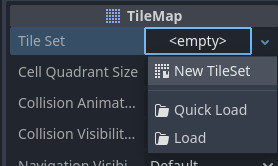
Adding a new Tile Set
To draw our map, we need to import new sprite sheets. In my case, each sprite contained in my sprite sheets are 16 x 16 pixels square. We can set those information as properties of the Tile Set. Select the Tile Set and a list of properties will appear. The Tile Shape will be set to square and the tile size to 16 pixels with respect to x and y.
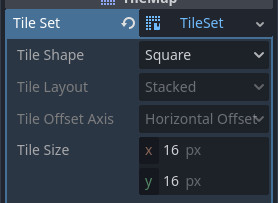
Set tiles to be squares of 16 x 16 pixels
Also we need to define the different layers of our donjon map. For my game, I have currently 2 layers in mind, the floor and the walls. Let’s define them in the Layers property of the Tile Map.
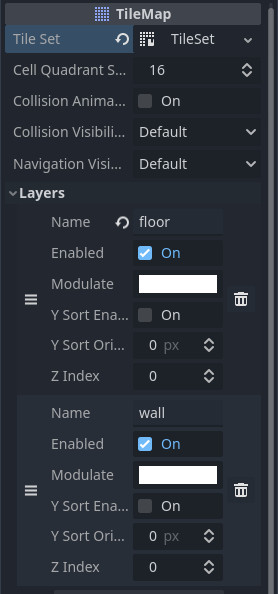
Add floor and wall layers
The order of the layers in the panel determines the order of their appearance in the donjon map. A wall tile will be seen on top of a floor tile.
Next step is to add your sprite sheets in the TileSet. By clicking on TileMap in your scene tree, you will see appear a new window at the bottom of your Godot Editor. Select the TileSet Tab and drag and drop your sprite sheets from your Godot asset directory (previously imported in your Godot res/ directory). For each sprite sheet, a prompt will appear with the following message: The atlas texture was modified. Would you like to automatically create tiles in the atlas ?
Because you have well configured the tile shape and the tile size, you can safely answer yes ! You should have a similar view as illustrated below.
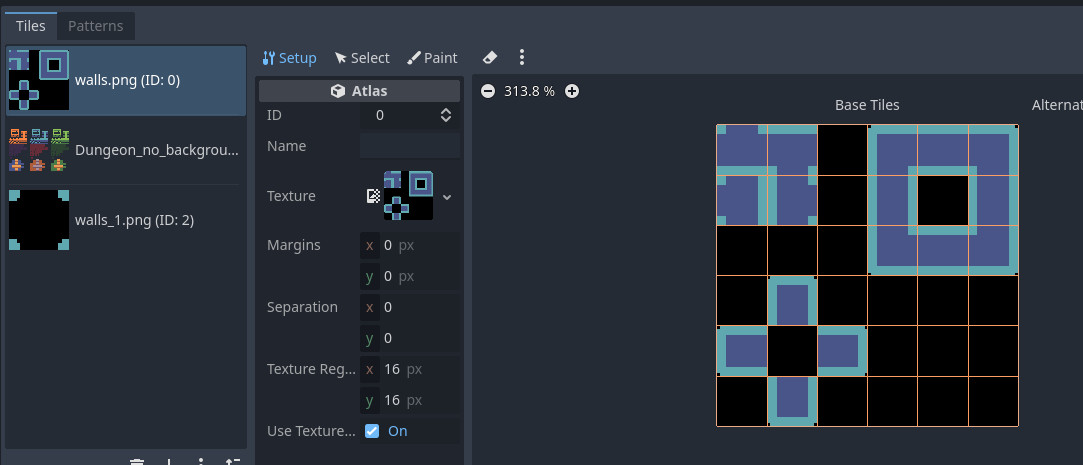
Tile Map with a Tile Set full of spritesheets !
You are ready to draw. Select TileMap tab at the bottom instead of TileSet, next select the correct layer (floor or wall) at the top right panel of the TileMap window, select your tile pattern and finally select the paint mode (pencil in the figure below). You can try another paint mode such as the rectangle which is nice to draw quickly large areas for the floor.
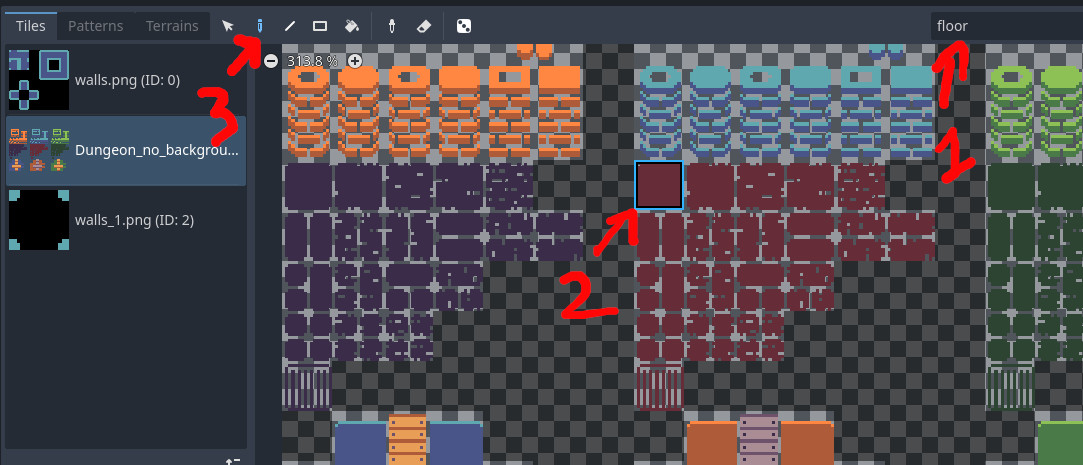
Tile Map with a Tile Set full of spritesheets !
Here is an example of a donjon I may use for my game.
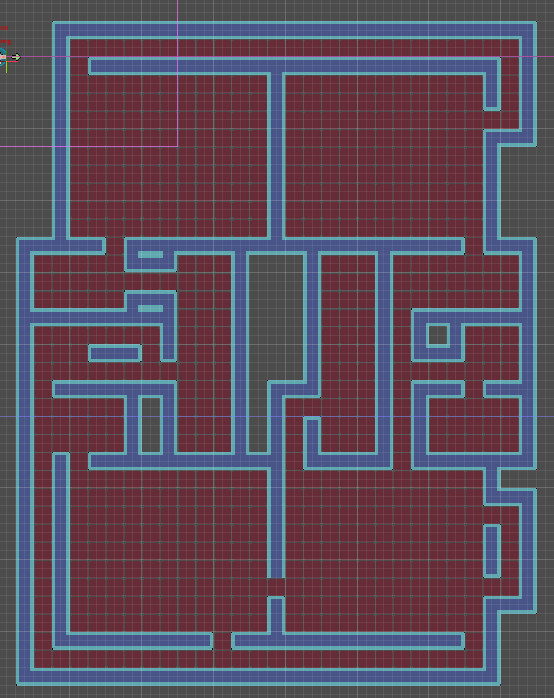
Example of a 2D top view donjon
Here are some nice websites for generating random donjon maps: https://donjon.bin.sh/d20/dungeon/
It is not over yet ! A lot of bodies (player, monsters, …) will live in this donjon, and except if there are ghosts, they can not pass through the walls ! To prevent that, we need to define colliders for our wall tiles ! Fortunately, it is not that difficult. The first thing is to define physical layers for our game project. To do so, go to project -> project settings -> Layer Names -> 2D Physics. At the right, you will be able to add physical layers. In my case, I added Player and Obstacles.

Adding Player and Obstacles Layers
The last step is to set the physical layers to the tile set and define with who the walls collide. For that, select the TileMap in the scene tree, select the Tile Set previously created on the right inspector panel and select the Physical Layers tab. The collision layer is the one of the wall and should be set to Obstacles. The collision mask lists all the physical layers that collide with the wall. Currently, the Player layer should be activated. Your editor should be similar to the figure below:
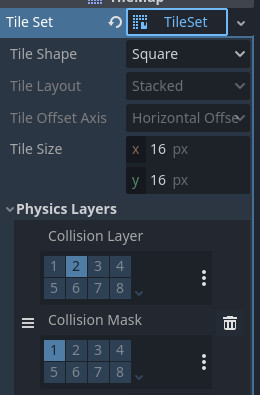
Define who collides with who
Once it is done, you can select the TileSet tab at the bottom panel, select the pain tab and choose the Physical Layer 0 paint property. Select a wall tile and you will be able to define a polygon collider. Repeat this operation for all the wall tiles you will use in your donjon and you are done !
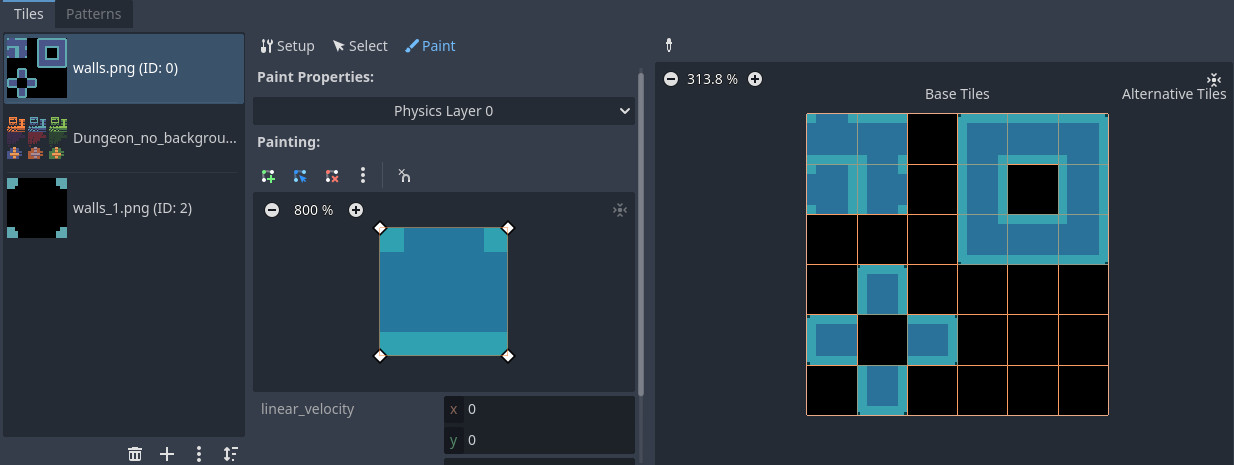
Define polygon colliders for each wall tile
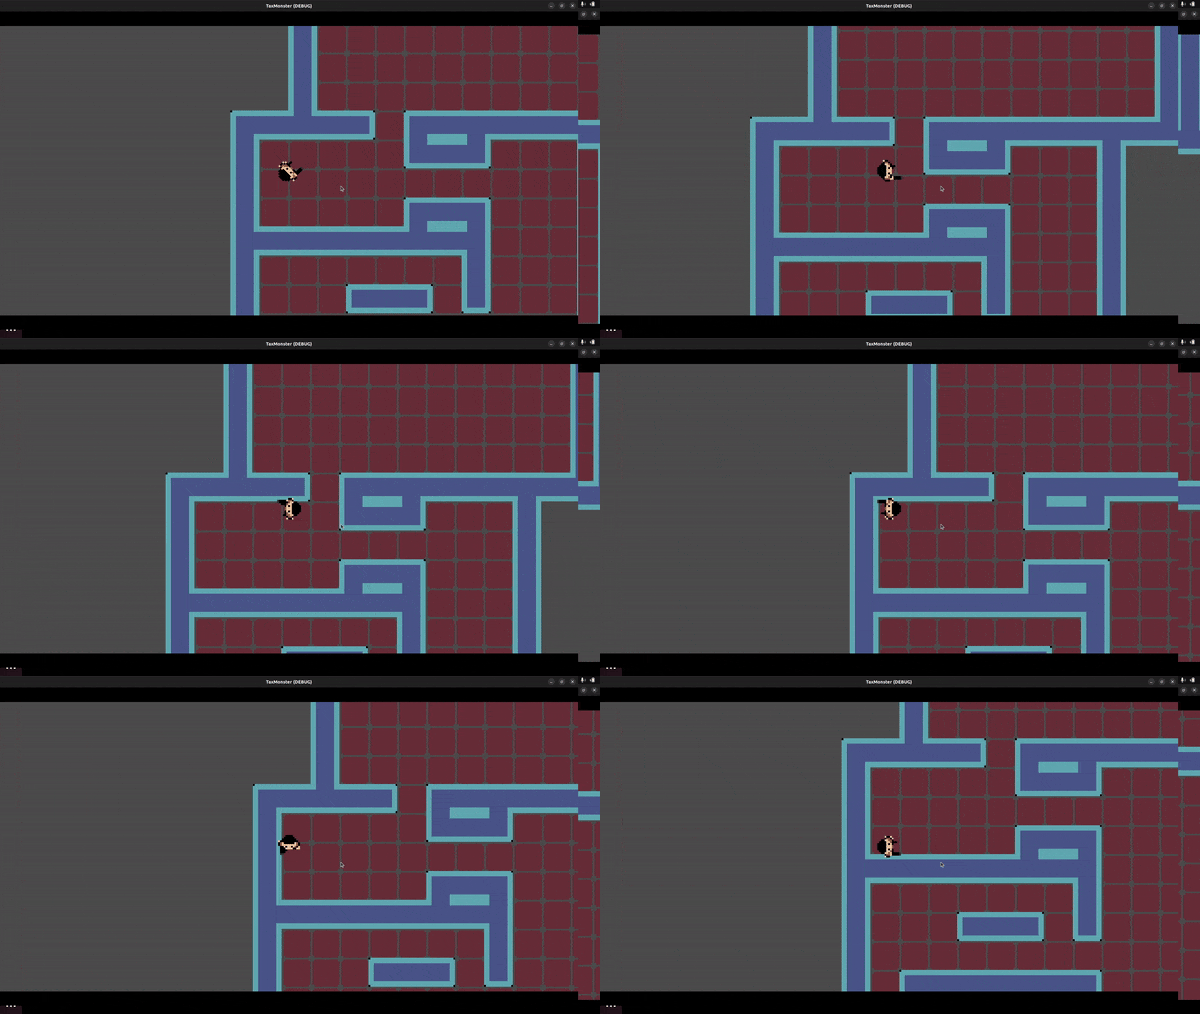
Here a small gif showing that collisions work with my player.
